
|
|
|
|||||||
| Register | Album Gallery | Thread Gallery | FAQ | Community | Calendar | Become a Paid Member | Today's Posts | Search |


|
|
|
Thread Tools | Display Modes |
|
#161
 10-24-2013, 01:47 PM
|
||||
|
||||
|
Hey Steve...during the winter...it gets down to the teens sometimes around here [img]<<GRAEMLIN_URL>>/hmmm.gif[/img] [img]<<GRAEMLIN_URL>>/biggthumpup.gif[/img]
__________________
Bruce Choose Life-Donate! 
|
|
#162
11-01-2013, 12:24 AM
|
||||
|
||||
|
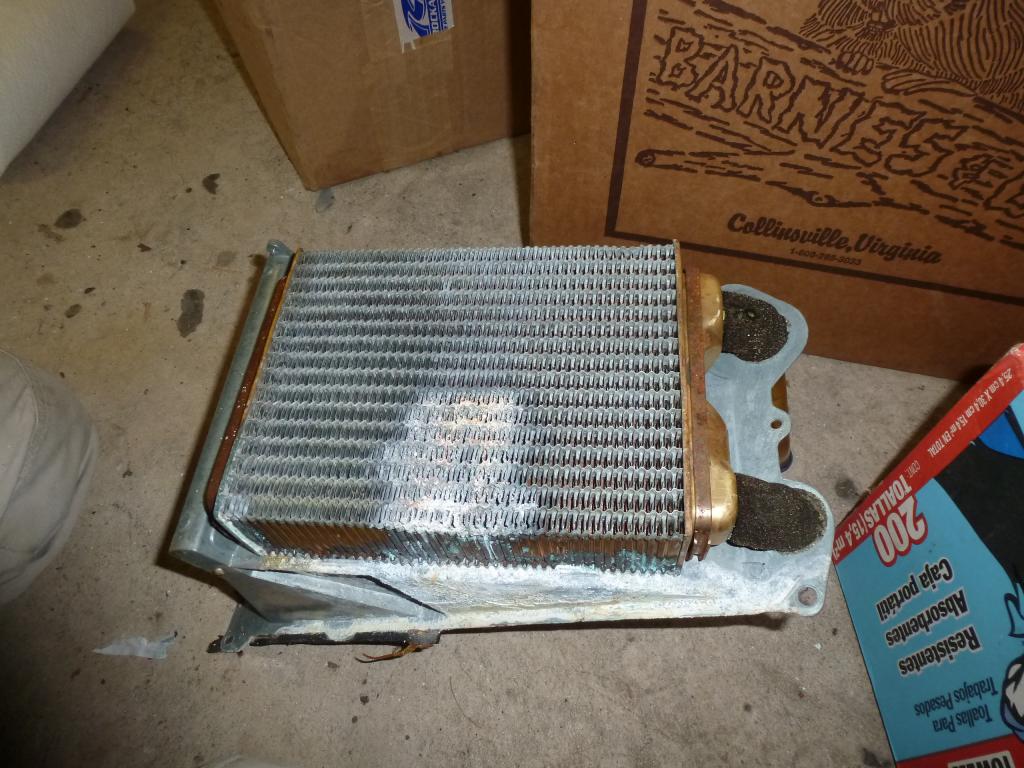
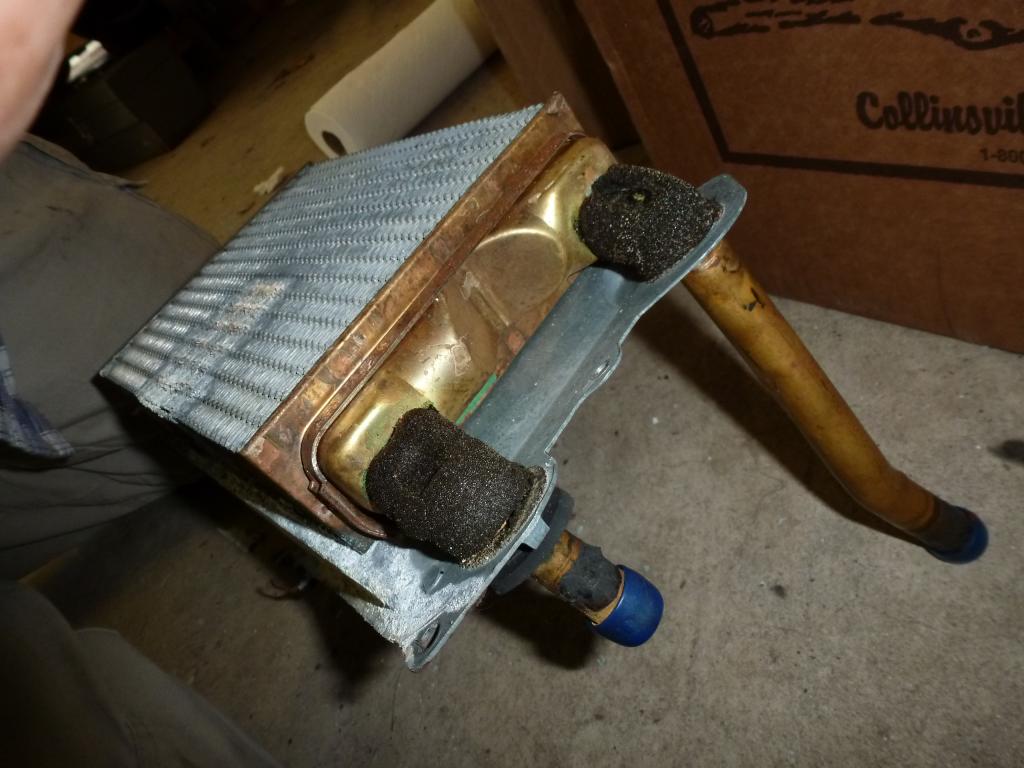
Well, It took a few days or wrenching but I managed to replace the heater core. I had to remove all the lower A/C ductwork, the radio, the console, both front seats, the lower section of the passenger fender and inner fender, the rocker panel trim and bracket and several other things I am probably forgetting. None of the stuff showed any evidence of ever having been removed before. I was rather neat to see what the actual hardware was supposed to be rather than someone's version of what screw fits what hole.
I found some interesting things along the way...like this: 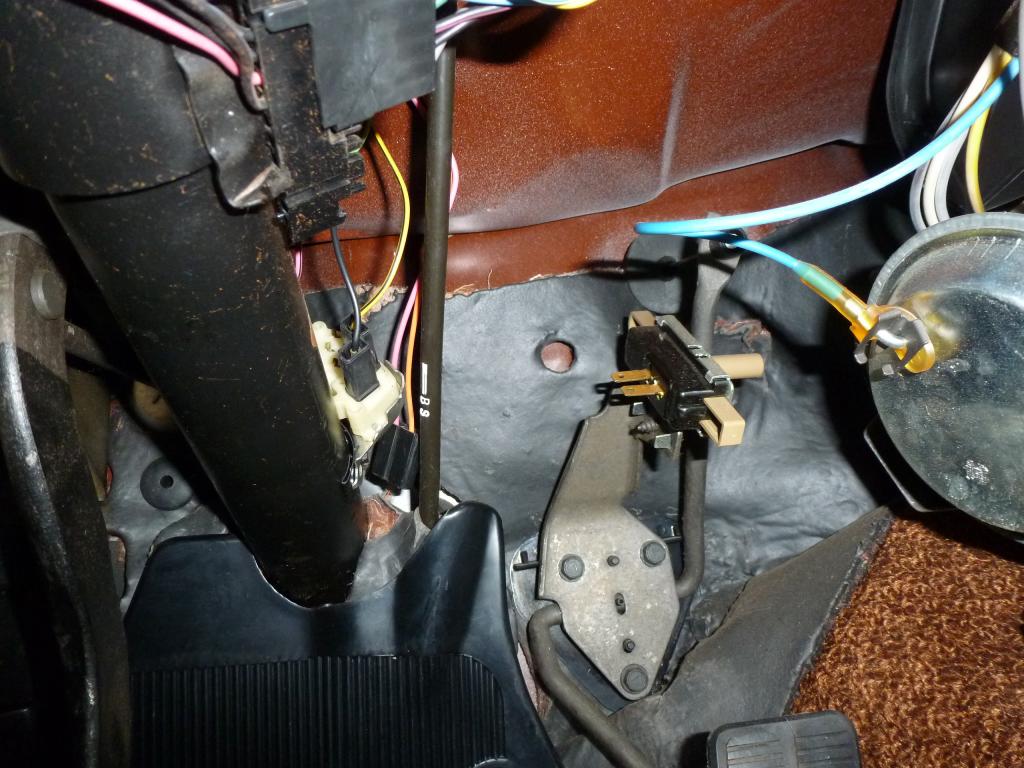 Notice anything odd about the Turbo 400 kickdown switch on the throttle cable bracket? Yeah, the portion of the harness was never connected to it. It is still dangling behind the steering column. (The orange and pink wires) There are no marks or scratches on either of the two terminals on the switch. So I hooked it up for future use.
|
|
#163
11-01-2013, 12:42 AM
|
||||
|
||||
|
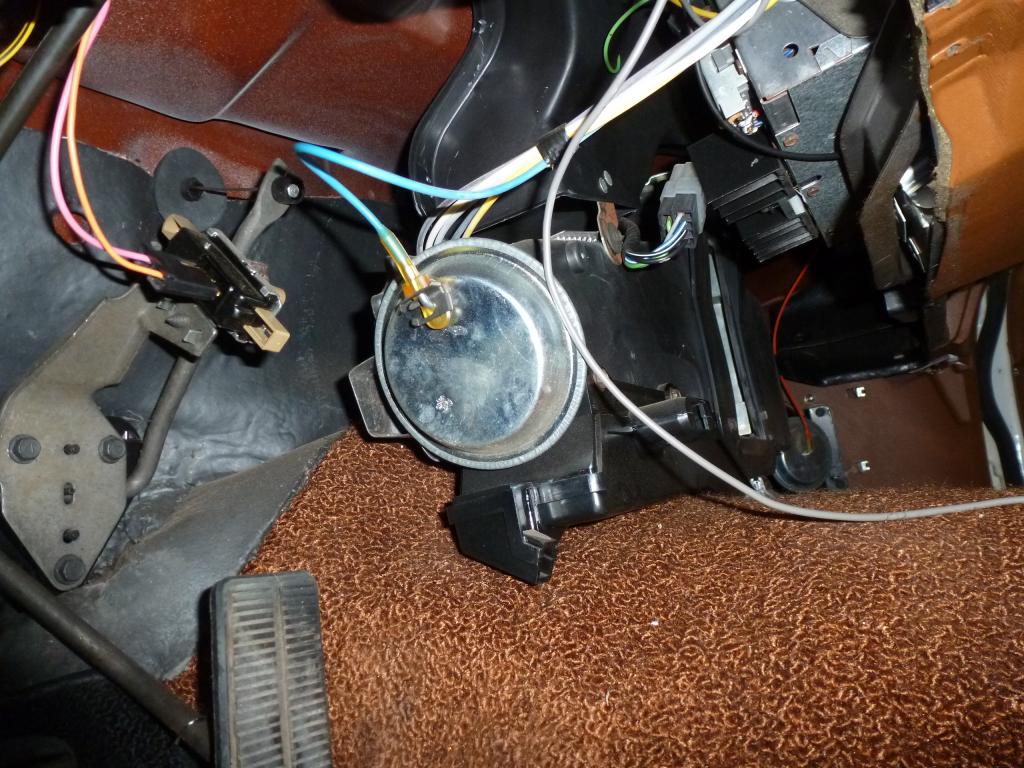
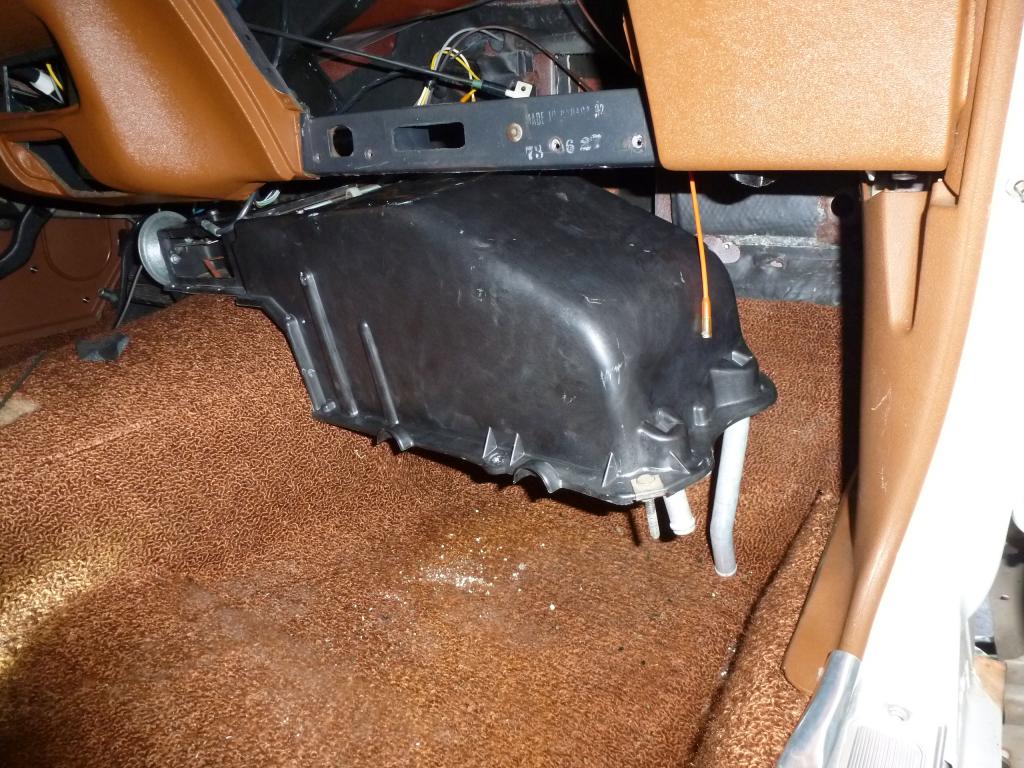
After hooking up the kickdown switch I took some before shots so I knew where things were and what hardware held it in. Note the giant gap between the heater box and the defroster duct.
 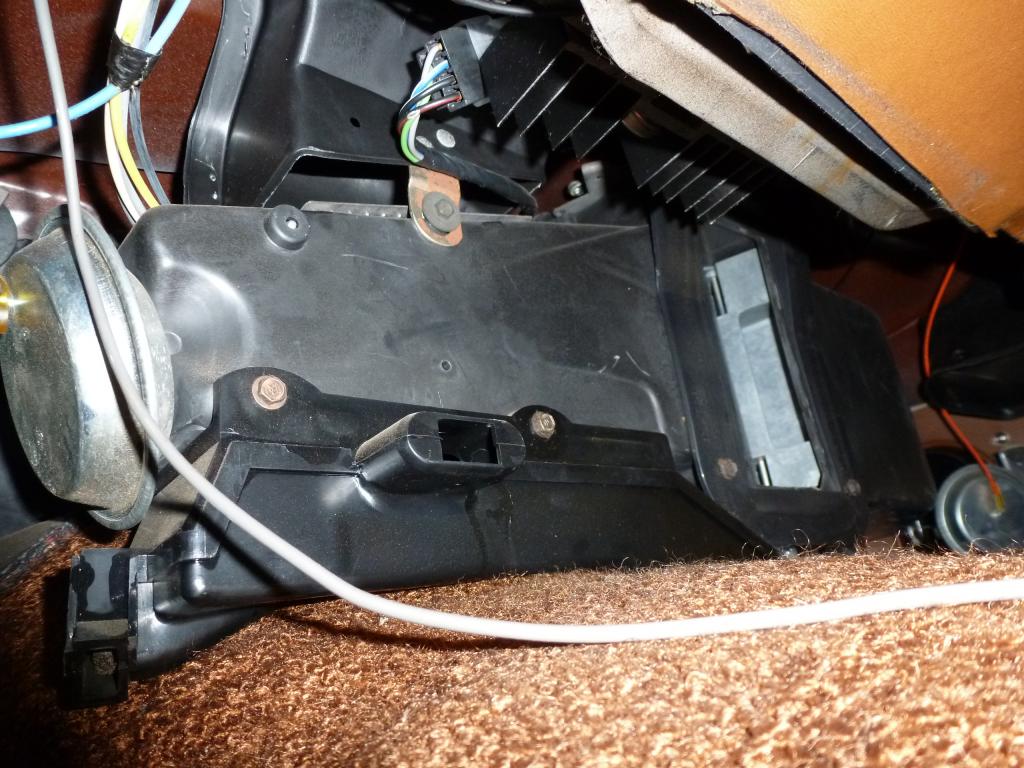 And the heater core housing pulled free of the dash. There are two bolts from the inside going through firewall and three studs coming from the housing and into in the engine compartment. Two of the studs are behind the passenger side cylinder head and the third is under the heater blower motor which requires the lower mounting points of the fender to be unbolted, in addition to the entire inner fender. You then put a small block of wood to hold the fender far enough out so that you can properly slit your wrists on the sharp metal while quarter turning the ratchet to remove the single nut from the stud...and the remove the lower heater core hose from the core outlet. It then promptly wedges itself into the kick panel tranny hump and lower portion of the dash.  This is something like solving one of those twisted nail puzzles where there is only one way to get the two metal pieces to unhook from each other. I found the secret: You have to first push the housing toward the driver's side (the radio removal was critical to this move), then rotate the housing so the heater core outlets face the floor while pulling the housing diagonally toward the passenger door. It takes around 10 steps of pulling one inch, rotating one inch...lather, rinse, repeat, until the whole assembly can come out of the car. 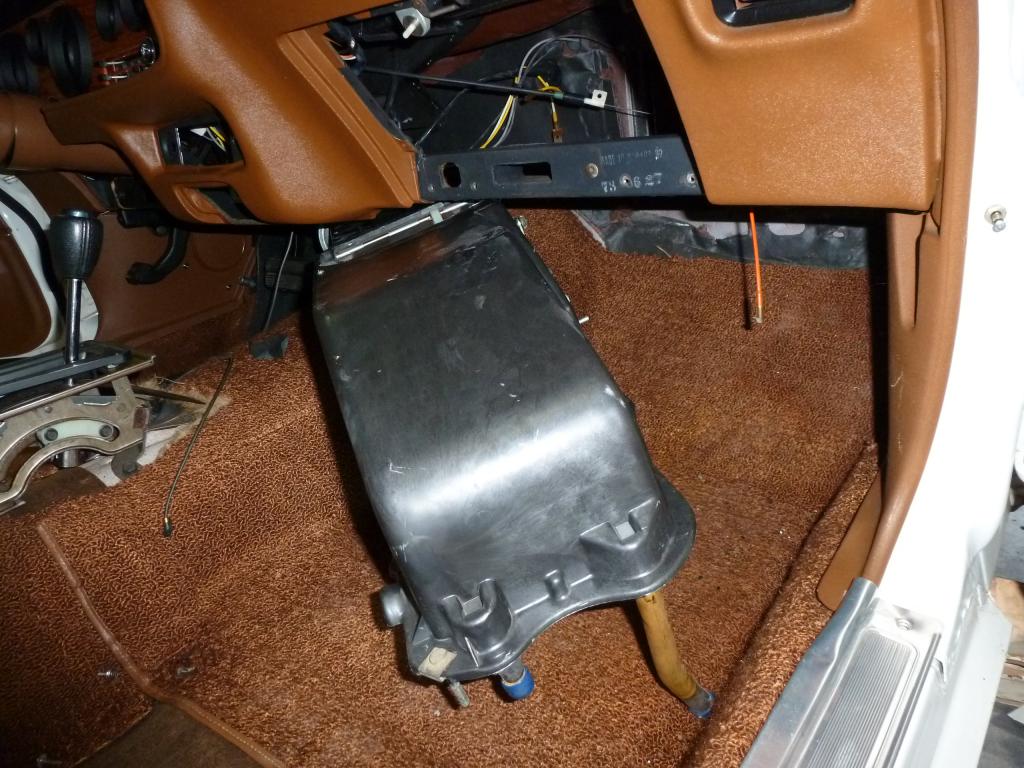
|
|
#165
11-01-2013, 12:52 AM
|
||||
|
||||
|
Once the new core was installed I prestaged the heater housing in the diagonal position and did the reverse move of push one inch, rotate one inch until the whole contraption just locked right into place. You do of course, have to remember to hook up the vacuum lines to the opposite side of the housing when you are halfway through the push and rotate process otherwise you will never be able to attach them once it is installed back in it's final position.
|
|
#166
11-01-2013, 12:54 AM
|
||||
|
||||
|
Blow my bitchen hair back.
Ryan
__________________
 1969 Beaumont 350 Auto White Sold 1969 Beaumont 307 Auto Green Sold 1969 Chevelle SS 396-L35 Auto Blue Sold 1969 Oldsmobile Cutlass 'S' Sports Coupe W31
|
|
#167
11-01-2013, 01:00 AM
|
||||
|
||||
|
Since I had half the interior out already, I decided to pull the back seat and look for a broadcast sheet. No such luck in the search - not in the front or rear seats or behind the cardboard, or in the side panels (which I could look down into via the ashtray holes). The seats had never been out before. I did find the original cardboard trunk separator though. It is a two piece unit consisting of a large U-shaped piece and a smaller square that slots into it and covers the vapor separator unit. Very interesting.

|
|
#168
11-01-2013, 01:04 AM
|
||||
|
||||
|
And another present from Rick arrived today: An original hat from "INSTA-TUNE", his dyno-tuning business and the original vanity plate he had on the car when he moved to Arizona with it in 1975.
[img]<<GRAEMLIN_URL>>/grin.gif[/img] 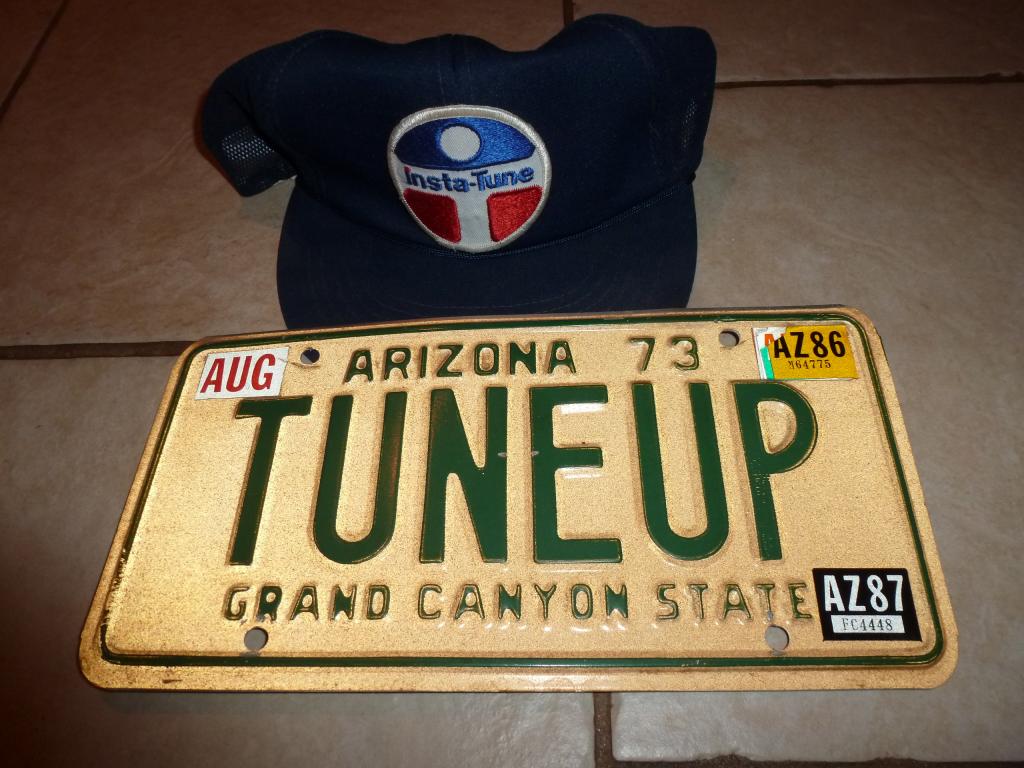
|
|
#170
11-01-2013, 01:29 PM
|
||||
|
||||
|
No stone left unturned.
Ryan
__________________
1969 Beaumont 350 Auto White Sold 1969 Beaumont 307 Auto Green Sold 1969 Chevelle SS 396-L35 Auto Blue Sold 1969 Oldsmobile Cutlass 'S' Sports Coupe W31
|
|
|
|


 Linear Mode

