
|
|
|
#1
 10-14-2017, 04:30 AM
|
|||
|
|||
|
So after many many hours spent reading Kwhizz builds on this site and learning a whole bunch of awesome goodness from them (thanks Ken) I figured I should throw my build up on here as part payment
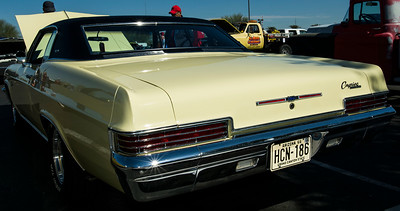
 This project kind of found me which was nice, a good mate of mine imported it into Australia a couple of years ago for his cousin. Clean Cali car (I've got the sand from the rockers to prove it), genuine SS, fastback, 327, t400, land barge. Unfortunately though there was a slight fire issue last year and it ended up with me a couple of months ago  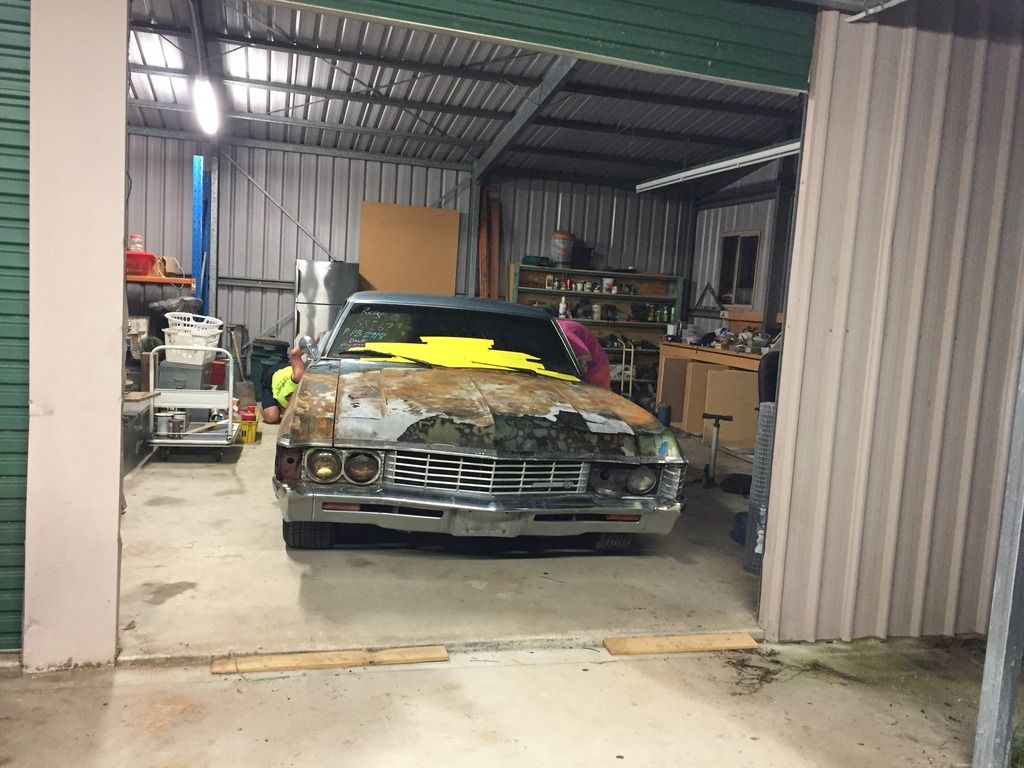 Thats the night we got it home, looked pretty sad really. Most of the damage was in the engine bay but the dash was pretty well burnt as well. All the plastic from the dash was melted nicely into the scorched carpet but surprisingly the seats are fine, they'll get re-trimmed though im sure.  Pulling the thing down I could not get over how solid this car is, zero rust in the floor pans throughout, the only bit I can find up until this day is a 1 inch hole in the lower guard.  Off to the blasters we went and it was finally time to start putting new things on rather than pulling burnt n rusty chowder off.  While this was happening I ordered the first lot of parts for the rebuild. Steering column bearings, Rag joint, front and rear disk brake conversion, tubular control arms and every bush I could find for the front end. Then I painted things, I'm definitely no painter but I have to say I'm pretty happy with the end result. Buy good products get good results they reckon.  Running disk brakes on the yacht was a no brainer for me and if I could improve the handling a little while I was there I thought I may as well. New energy suspension body mounts and sway bar links went in, tubular control arms, steering links are all in and she rolls again at least until i pull the rear apart for the rear disks  Must be about time to sort out an engine for it now i think, hopefully ill have an update with that soon. Thanks for reading and I hope the pics work 
|
|
#2
10-14-2017, 05:10 AM
|
|||
|
|||
|
Cool project. Keep up the good work.
Jason
|
|
#5
10-14-2017, 12:56 PM
|
|||
|
|||
|
Awsum...........When you are finished,.........you will enjoy every second put into it .........Great Job !!!!
__________________
 The Best things in life......Aren't Things
|
|
#6
10-14-2017, 08:37 PM
|
||||
|
||||
|
Looks great...nice work.
Do you have access to a purse like Ken   -wilma
__________________
02 Berger 380hp #95 Lots of L78 Novas Join National Nostalgic Nova! 70 Orange Cooler 69 Camaro
|
|
#7
10-14-2017, 09:59 PM
|
||||
|
||||
|
Good work and welcome to the site A67!Looking forward to update pics!
__________________
https://www.youtube.com/watch?v=gkDf7PPRzJ0
|
|
#8
10-27-2017, 01:20 AM
|
|||
|
|||
|
Thanks a lot guys. I have enjoyed it all so far just need some time away from work to get a bit more done.
Not sure on the wife's purse depth yet, I'll skim it lightly to start n see if she notices 
|
|
#9
11-19-2017, 03:03 AM
|
|||
|
|||
|
Been a bit busy lately which means shed time has been pretty hard to come by. I finally got a bit of a chance today to get the booster and master cylinder out and trial fit it with the rebuild steering column (remembering how all the brackets for the column went together was uhhh interesting). Annddd the instructions in the kit sucked
 , I had the mounting brackets on n off about 5 times to get the angles for the brake pedal anywhere near lining up. , I had the mounting brackets on n off about 5 times to get the angles for the brake pedal anywhere near lining up. Quickly found out I'd need to make a plate and seal for the rather large holes that still exist in the firewall so ill have to go back and pull it all apart once thats done, but hopefully then I can get it all in permanently.
|
|
#10
12-08-2017, 01:25 AM
|
|||
|
|||
|
More shed time last weekend meant it was time for the rear disk brake "bolt on" kit
... turns out it wasn't as "bolt on" as expected.Turns out i only had the trim a little corner off the mounting flange on the rear axel housing to get the brackets to fit, i didn't want to trim the bracket as they're already quite thin in that area to clear the housing. Didn't get pics of this part sorry, was too busy being fascinated by how easy it was to pull the Dif apart to get the axels out. Having never played with a Dif before i was surprised just how well it all came apart (and want back together). 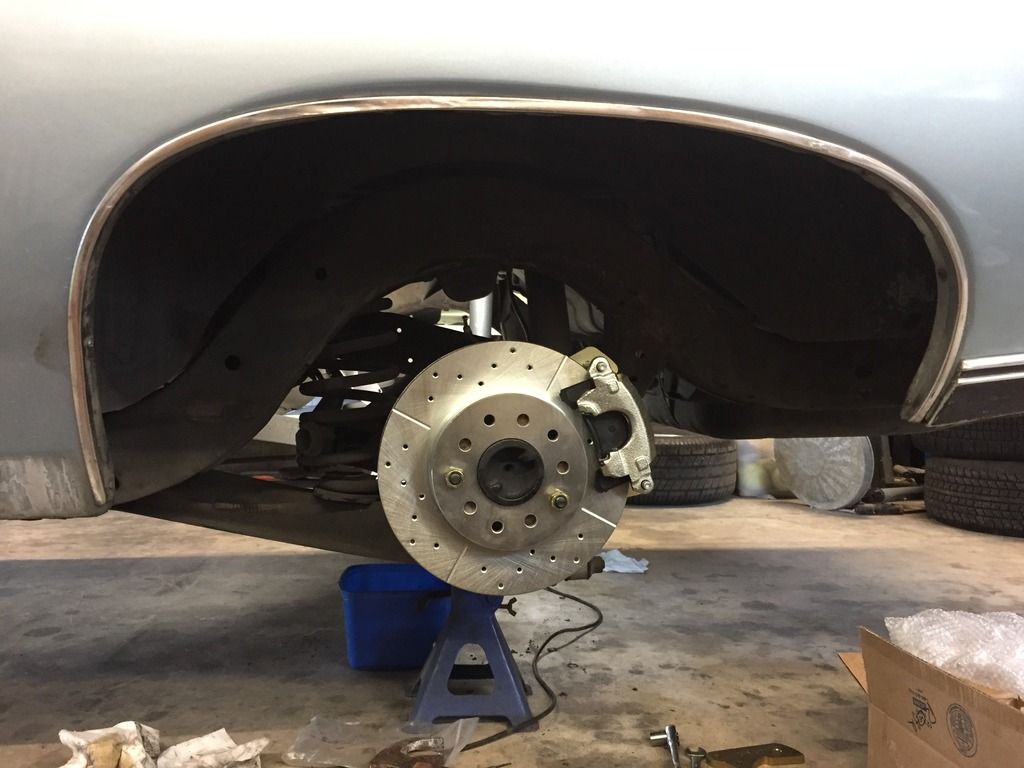 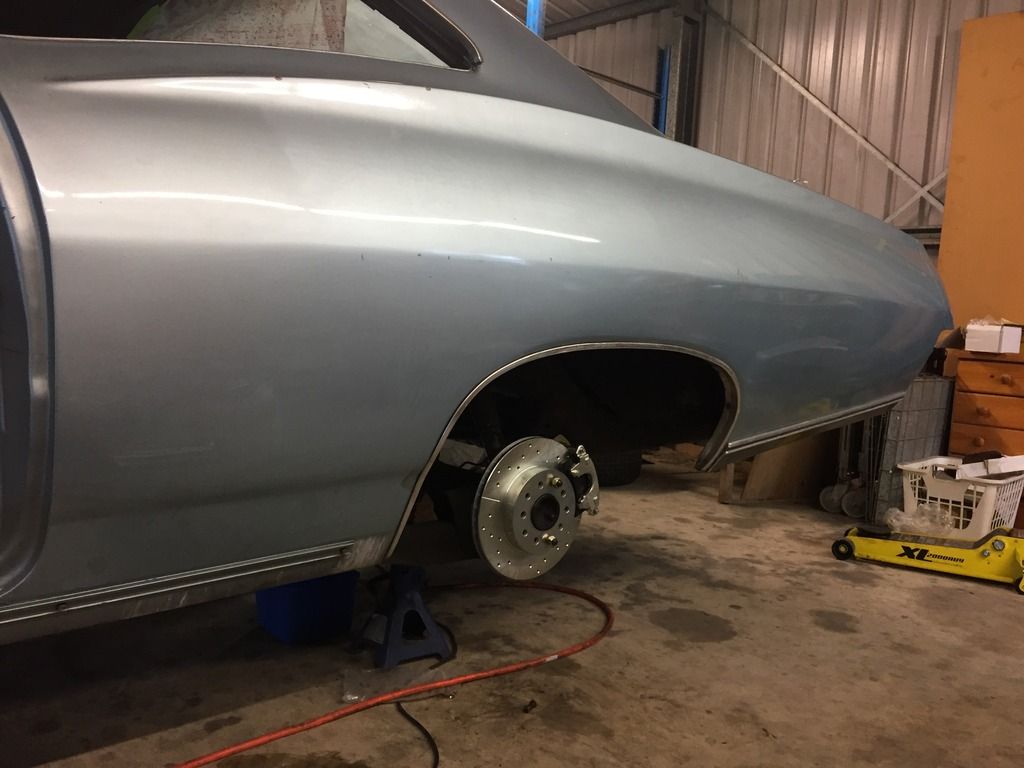 So this weekend I'm hoping to have a look at an LS1 thats for sale locally and a gearbox to suit as well... then i get to wait for my sump and mounts to turn up before i can do to much else... im getting so keen to get it back together now but man there is a heap to do..  Cheers guys
|
| The Following User Says Thank You to Aussie67 For This Useful Post: | ||
kwhizz (12-08-2017) | ||
 |
|
|


 Linear Mode

