
Dedicated to the Promotion and Preservation of American Muscle Cars, Dealer built Supercars and COPO cars. |
|
|||||||
| Register | Album Gallery | Thread Gallery | FAQ | Community | Calendar | Become a Paid Member | Today's Posts | Search |


|
|
|
Thread Tools | Display Modes |
|
#161
 09-02-2015, 05:26 PM
|
||||
|
||||
|
Visited Roger's Automotive again today to drop off a spare flexplate in case they need it for the balancing process. Gotta love that Safest Rust Remover/Evaporust stuff. Two hours of soaking cleaned up the rusty flywheel nicely. (I degreased it completely first).
Before: 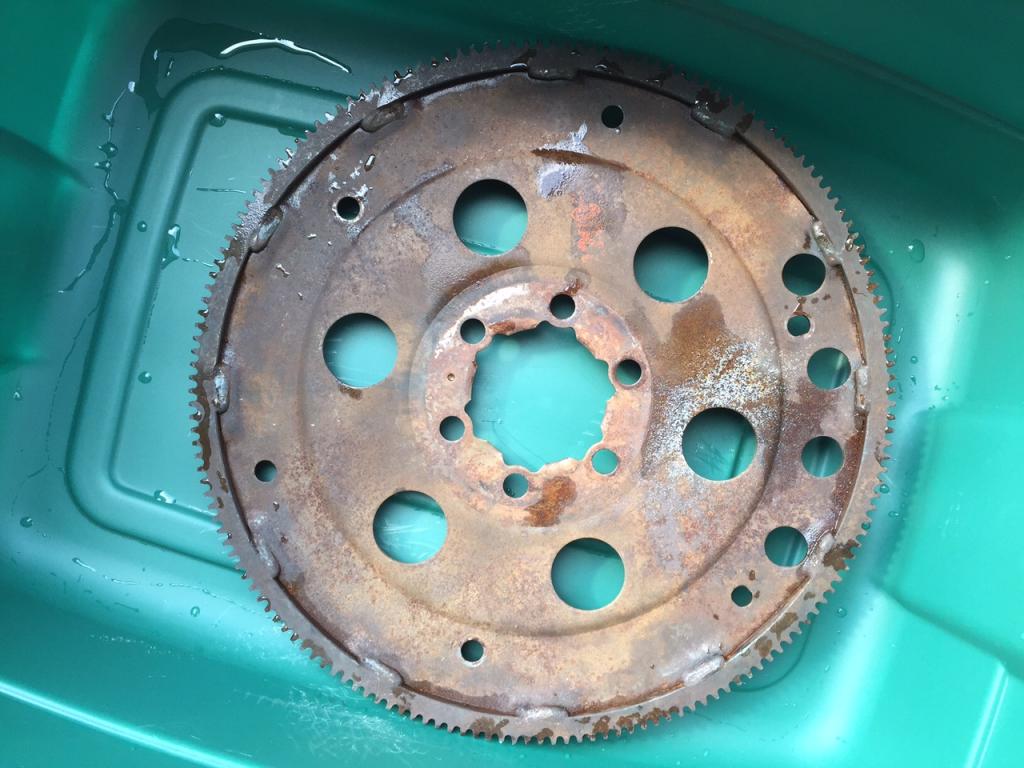 After: 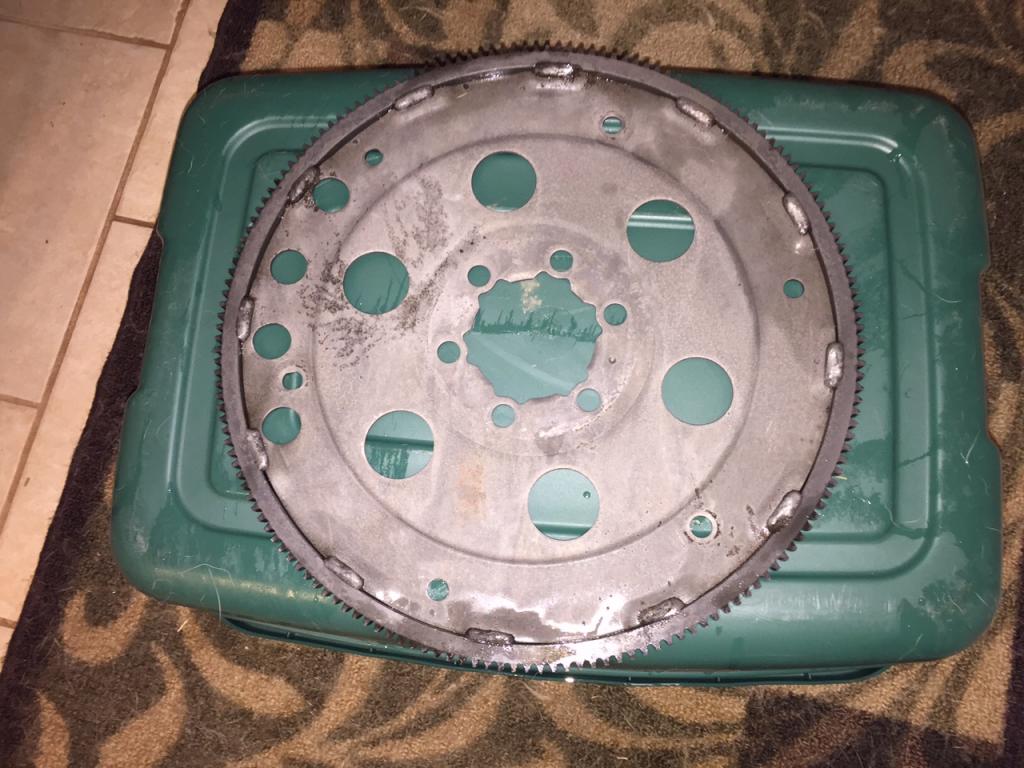 
|
|
#162
09-02-2015, 05:28 PM
|
||||
|
||||
|
The balancing of the rods and pistons are done but they are waiting on the crank to get back from being ground. Good news was that both the rods and the pistons had less than a gram variance between each individual piece. So very little had to be done to them.
|
|
#163
09-04-2015, 10:10 PM
|
||||
|
||||
|
Since we will be adding a bunch of horsepower to the car I figured it was time to install a tachometer to keep an eye on things.
I did not want to change the dash in Gramma's car by installing a Rally gauge setup with tach because that would require a complete dash wiring harness change along with a ton of other items. So I decided to go with an old school tach I had sitting on a shelf in the garage. I have had this particular Sun Super Tach II for at least 30 years and it has been in over a half dozen cars of mine in that timespan. I also did not want to drill a hole anywhere in that pristine dash. And of course there is not enough room on the column for the old school hose clamp over the bracket installation as the turn signal lever is in the way. In addition, the majority of the lower column moves due to the functioning back-drive linkage that locks the shifter in place when the key is removed. So I pulled the dash fascia and located some existing mounting screws. I then use some bodyshop hammers, a vise, and an anvil to hand-make a mounting bracket that extends out under the dash overhang. I located a vintage flat mount Sun tachometer bracket on ebay for $11 and drilled a couple holes in my handmade bracket and voila, the tach sits very nicely in view. It doesn't block anything behind it other than an idiot light or two, and it looks rather 1970's nostalgic. My Franken-bracket: 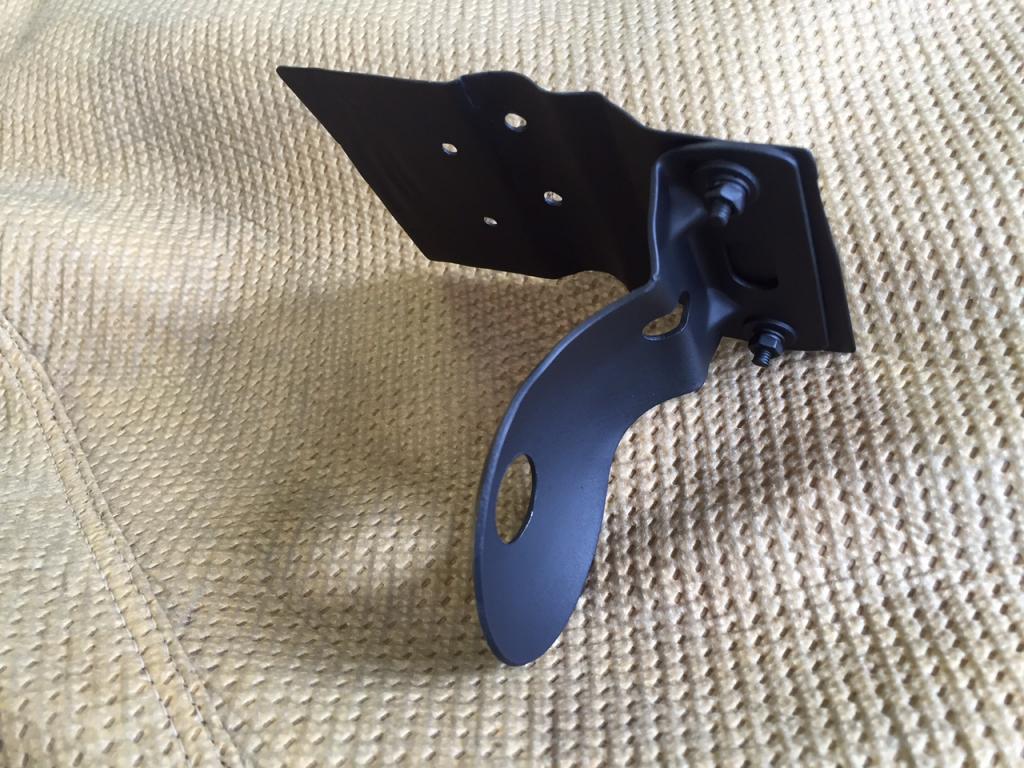 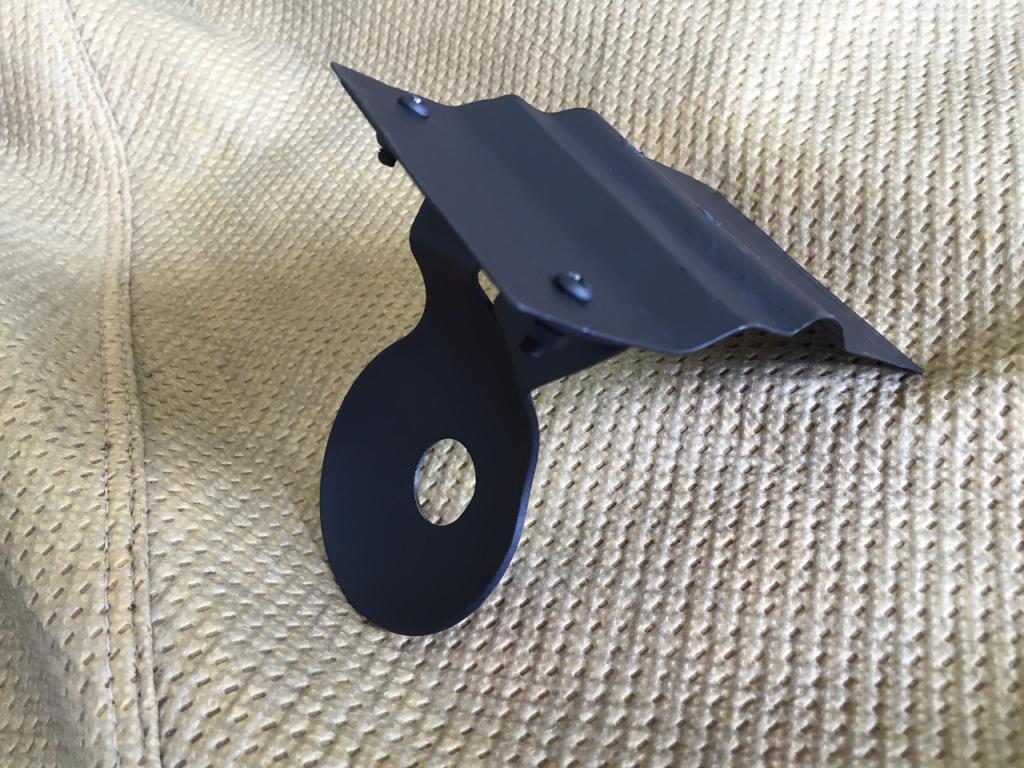 And the installation. The drop down distance of the horizontal bracket is just enough to keep the two mounting screws from touching the underside of the padded dash. 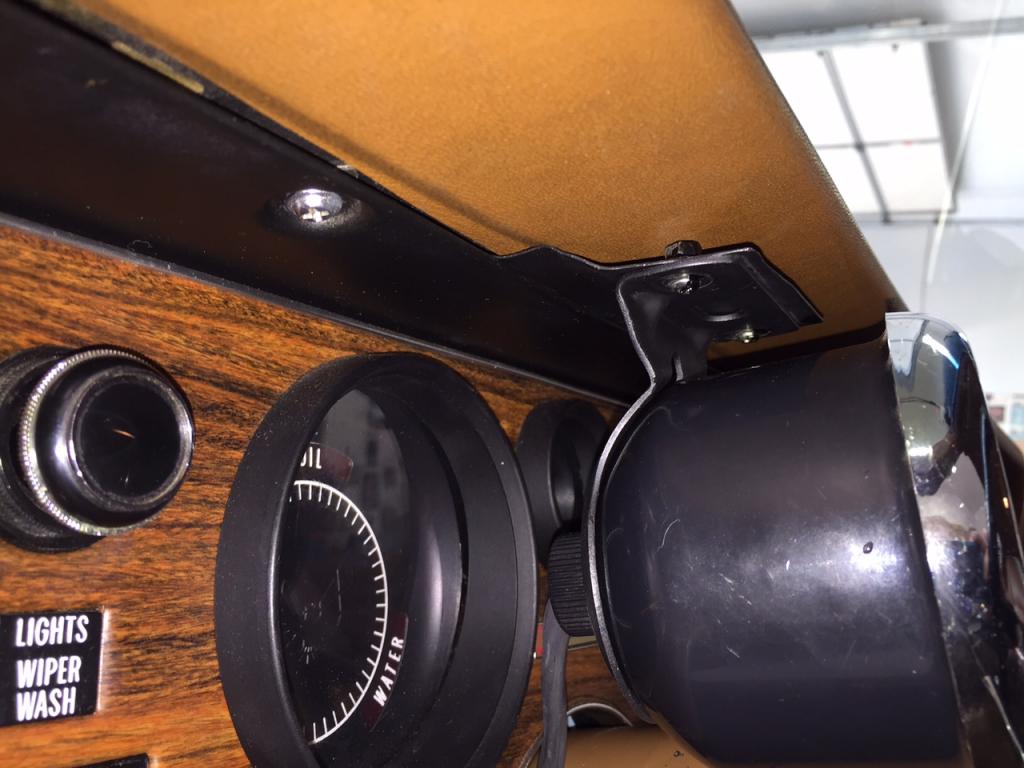 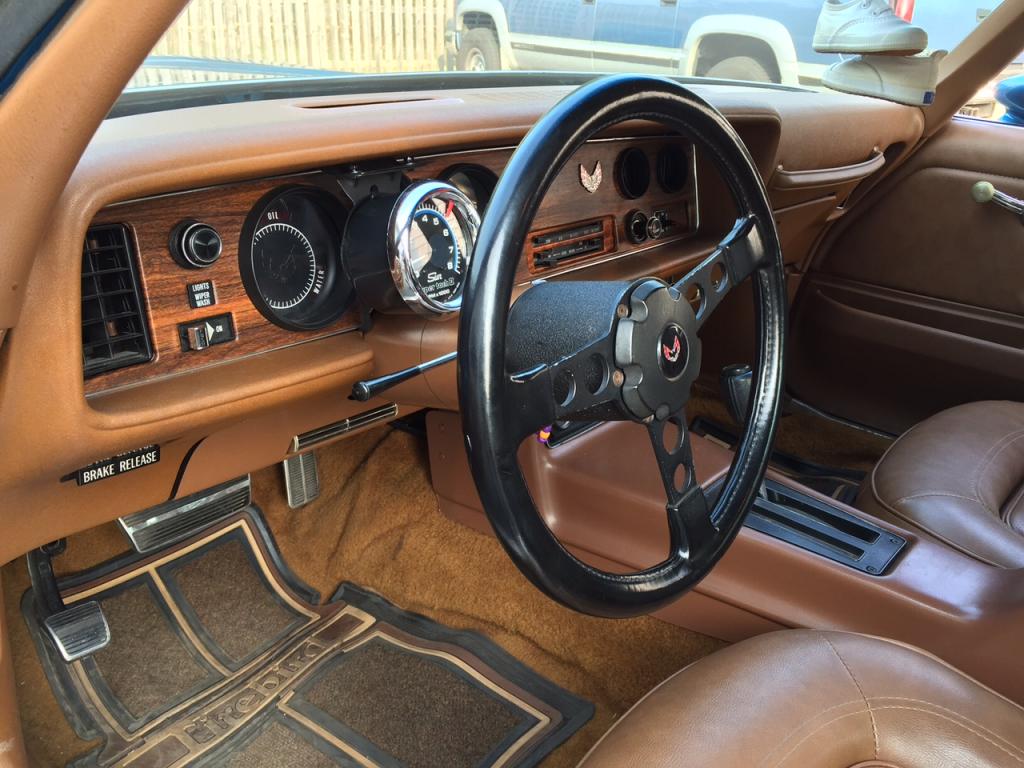 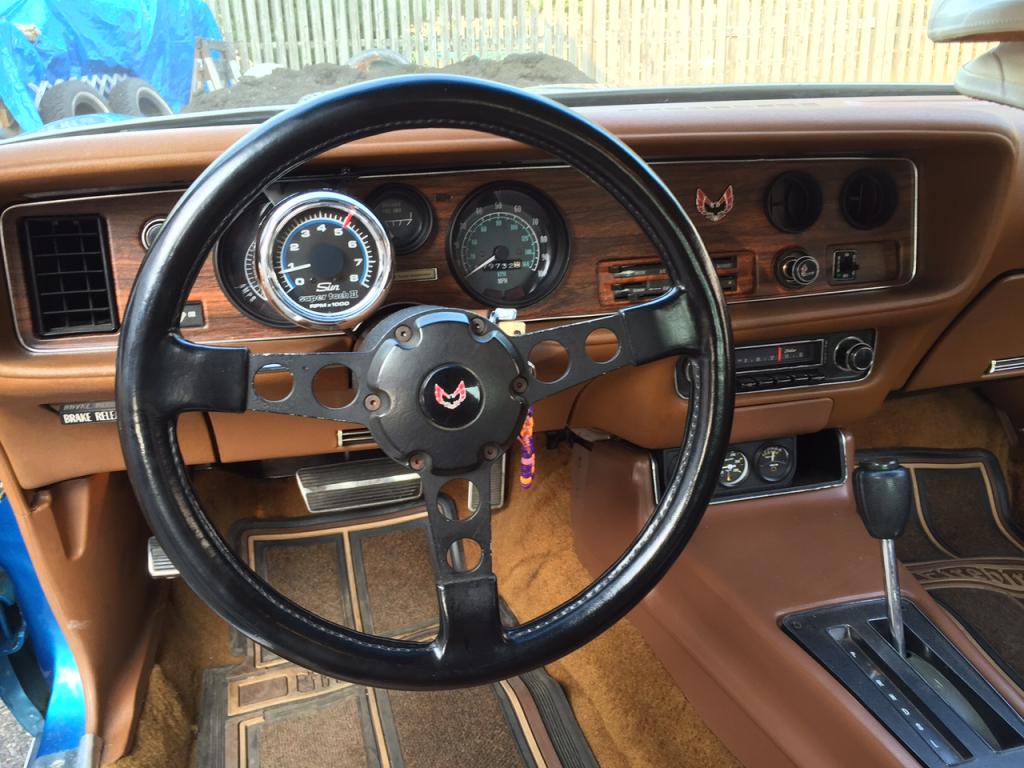
|
|
#164
09-04-2015, 10:18 PM
|
|||
|
|||
|
----Geez, Steve! you covered up all the idiot lights. What will you do???.......Bill S
|
|
#165
09-04-2015, 10:32 PM
|
||||
|
||||
|
They still function with all the existing stupid sensors. I installed an Autometer mini gauge pod in the console pocket a couple decades ago. Also using existing mounting holes. [img]<<GRAEMLIN_URL>>/grin.gif[/img]
|
|
#167
09-05-2015, 12:52 PM
|
||||
|
||||
|
BTW, if you look at the above photo through the windshield, sitting by the woodpile, you will see two NOS 15" studded, whitewall, radial, snow tires. Is anyone building a vintage 1960-70's station wagon they could use them on?
|
|
#168
09-06-2015, 02:17 AM
|
||||
|
||||
|
Hello njsteve i noticed you used the bop rear seal from butler on your other post. how has the seal performed to date i ordered a butler 467 ci rotating assembly for a 69 400 & included was that seal.Ive heard mixed negative and positive results about that seal.thank you marc.
|
|
#169
09-06-2015, 11:20 AM
|
||||
|
||||
|
I've used it on three engines in a row and none leaked. Just follow the directions to the letter. BOP have just come out with a new one-piece version that you make a single cut in, to install but I chose to go with what I know works. The bad rap about the seal you are referring to is mostly from bad knockoffs of their seal and not the actual BOP unit.
|
|
#170
09-07-2015, 02:59 PM
|
||||
|
||||
|
I still had the pressure washer that my buddy loaned me for cleaning the engine block a couple weeks ago, so I decided to throw Gramma's car up on jackstands and clean the underside. The frame rails look beautiful - never crunched in or rusted out! The only issue on the car is tail panel that is behind the urethane rear bumper fascia. Poorly repaired when the car was repainted 25 years ago. Glad I waited since they now reproduce the tail panel and inner reinforcement panel. Too bad I have to buy both full panels just to use the bottom couple inches of both.
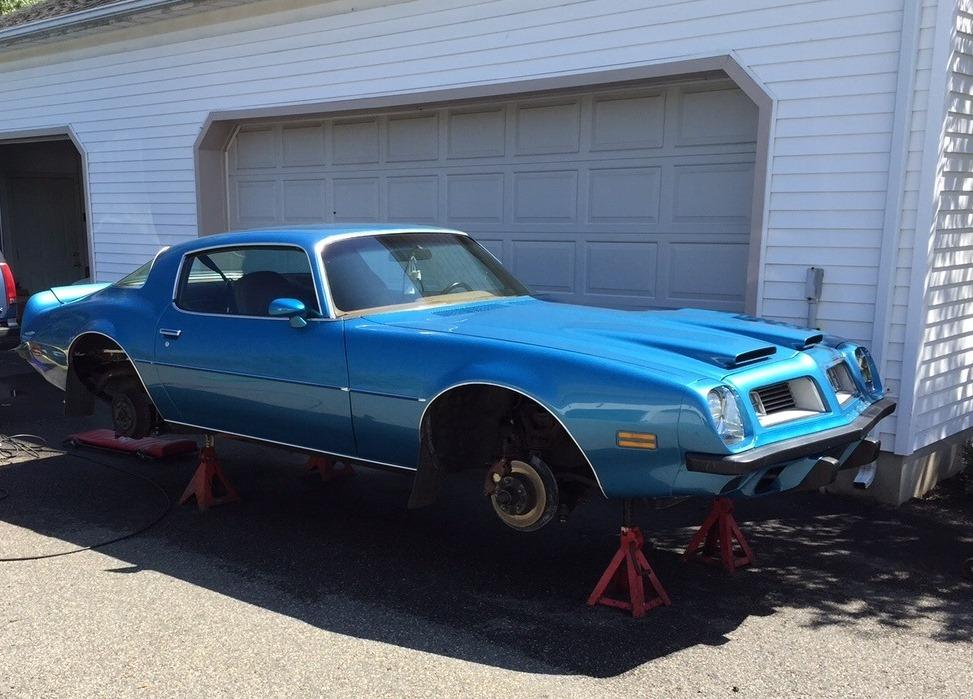 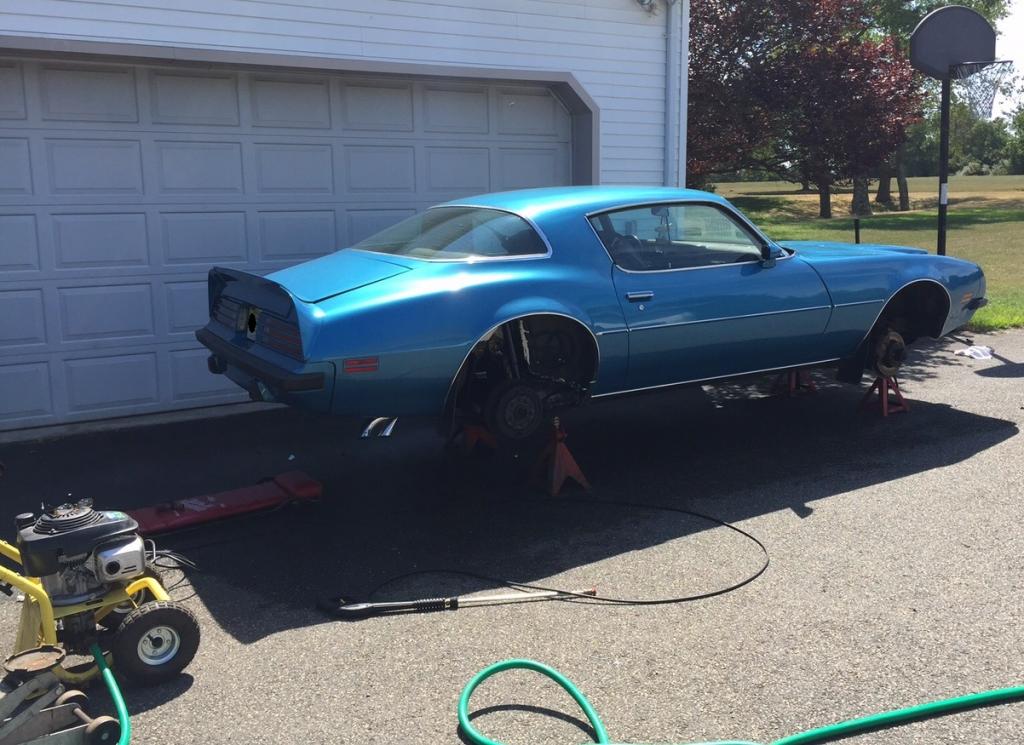 The frame rails look great (though I proceeded to blow off the grime and undercoating that hid the original white overspray. Please ignore the graffiti-esque marks in the wheelwell body schutz that the pressure washer made. I used a wider nozzle later to clean that up. 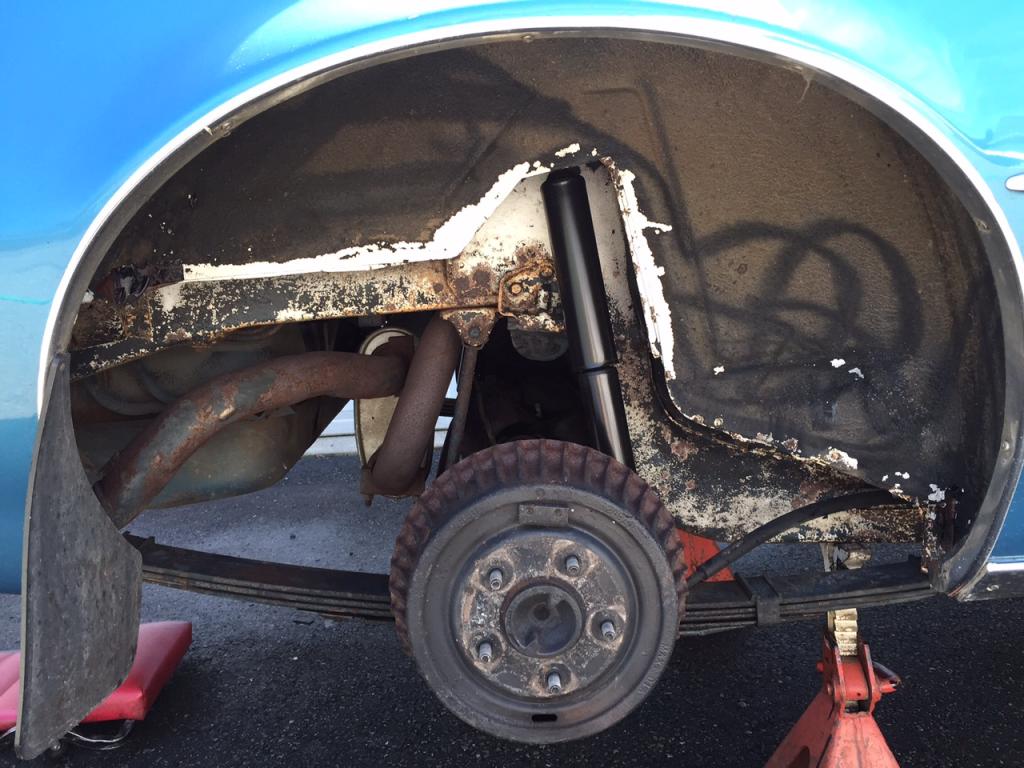 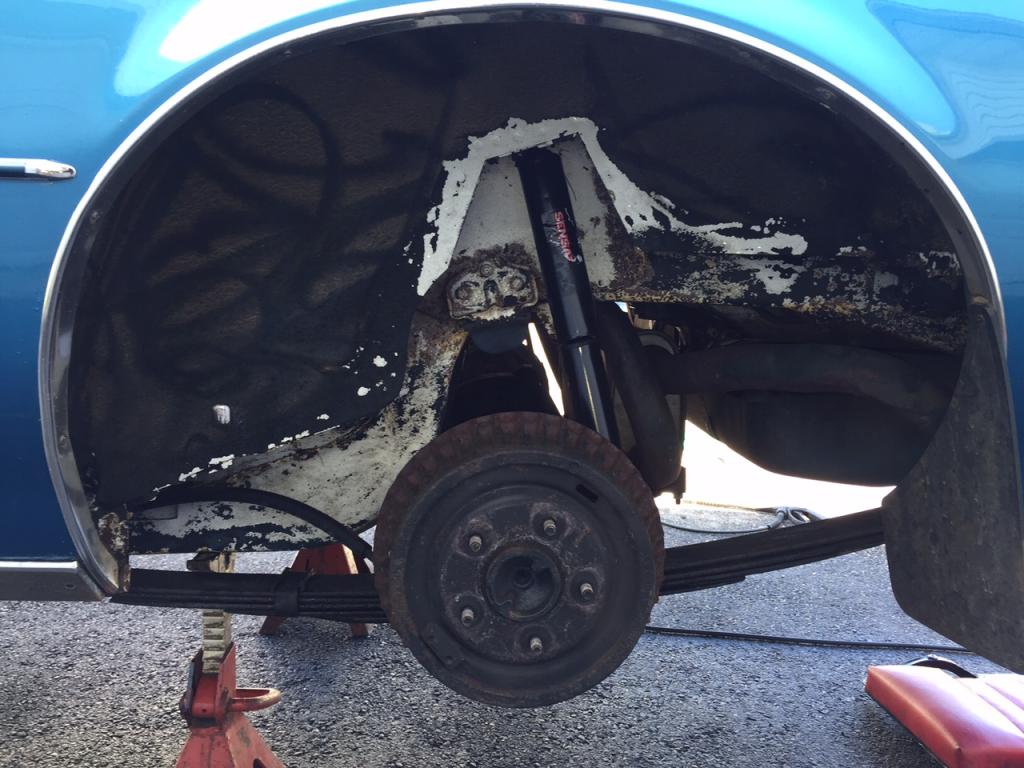 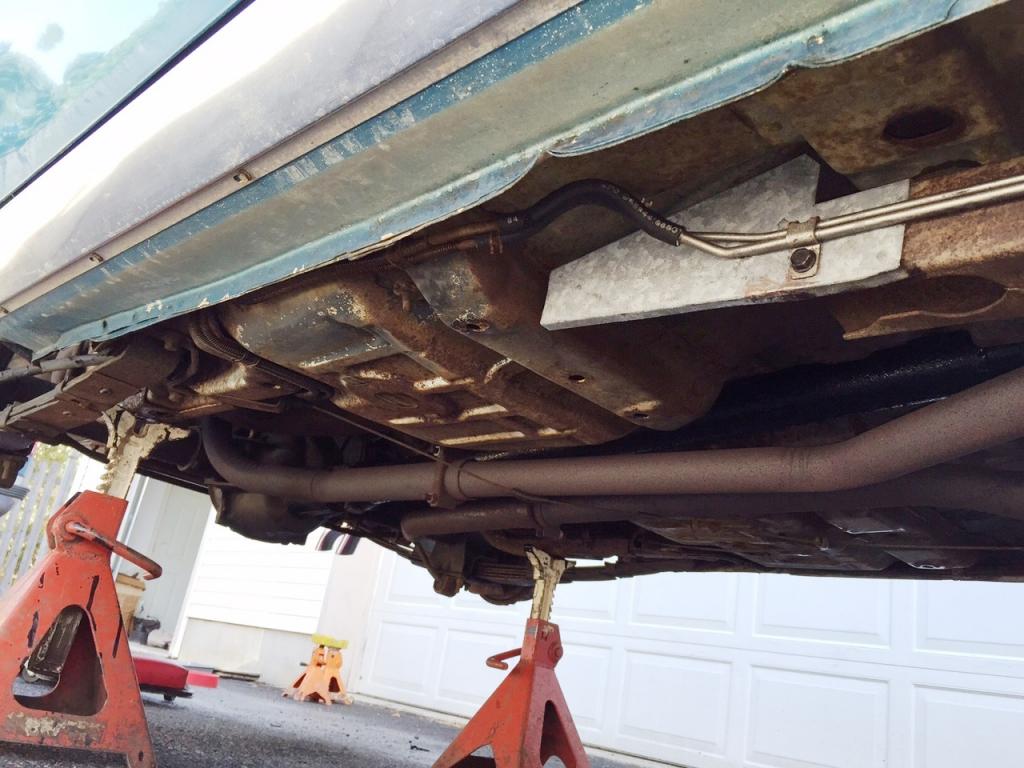
|
|
|
|


 Linear Mode

