
|
|
|
|||||||
| Register | Album Gallery | Thread Gallery | FAQ | Community | Calendar | Become a Paid Member | Today's Posts | Search |


|
|
|
Thread Tools | Display Modes |
|
#351
 04-29-2020, 05:40 PM
|
||||
|
||||
|
Thanks...forgot about that thread. It's as you mentioned above.
Off to the shop to get it cleaned up and reinstalled.
__________________
I like solid lifter cars, big cams and cars w/ 3 pedals in them. 

|
|
#352
04-29-2020, 06:31 PM
|
||||
|
||||
|
Quote:
Last edited by Edgemontvillage; 04-29-2020 at 06:36 PM.
|
| The Following User Says Thank You to Edgemontvillage For This Useful Post: | ||
NorCam (04-29-2020) | ||
|
#353
04-29-2020, 11:15 PM
|
||||
|
||||
|
The front sway bar is now painted and back in the frame with restored original hardware and some NOS bushings & end link hardware with correct bolts. Looks way better than it did before. Here are a few before and after shots of the front suspension to add a little perspective of the cleanup work. (lol)
(The original front sway bar mounts and inside bushings/clamps after P/O painted it all black).  (After taking it all apart, detailing it and reinstalling it earlier today. Much better looking IMO).  __________________________________________________ _______________________________________ (Original grease and dirt build-up on the control & steering arms along with those gaudy gold end links). 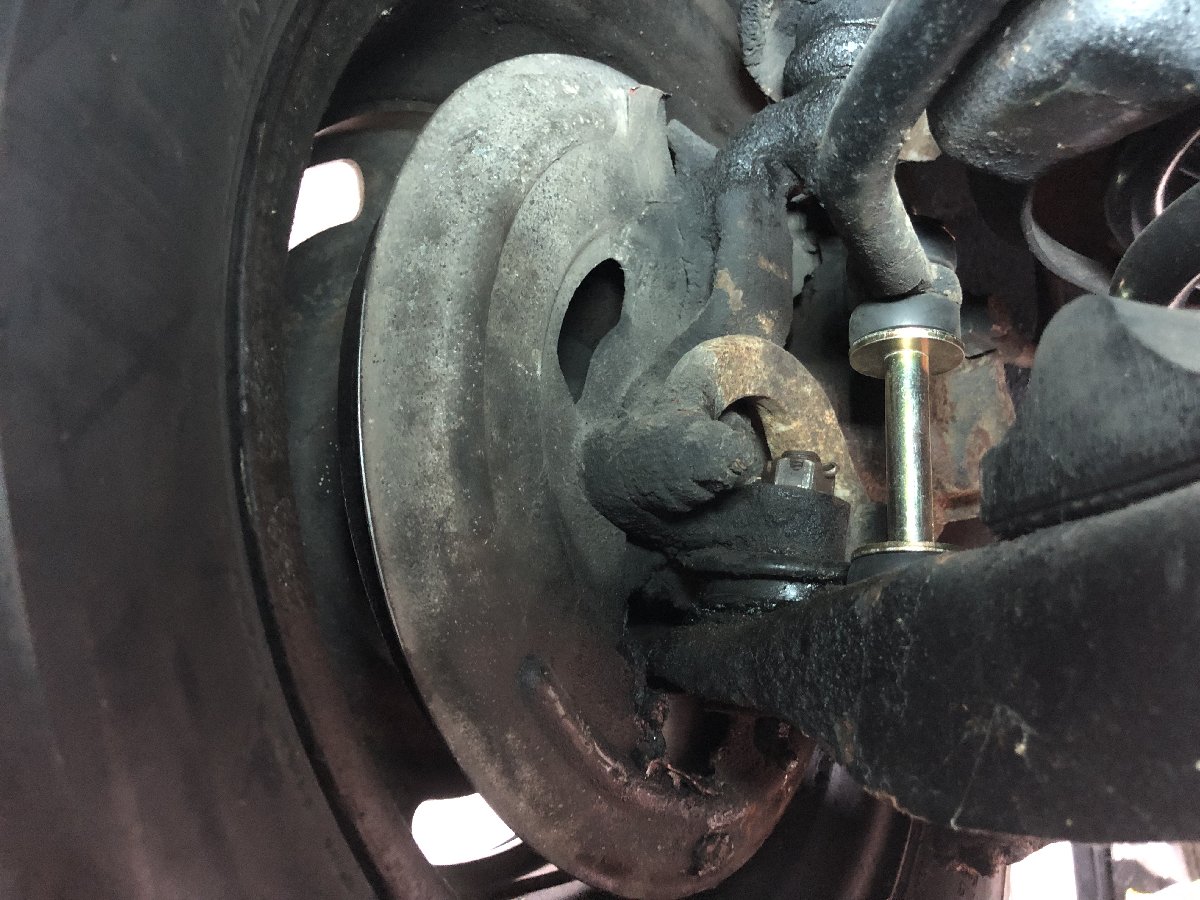 (And here are the NOS end links installed after the front suspension was cleaned up. Miles ahead of where it was before).  __________________________________________________ _______________________________________ (Installed a set of NOS end links and bushings on the sway bar. Bolts have WB head marking).  (End links installed showing the underside of the a-arm. I need clean this up a bit when it's off of the jack stands and more accessible). 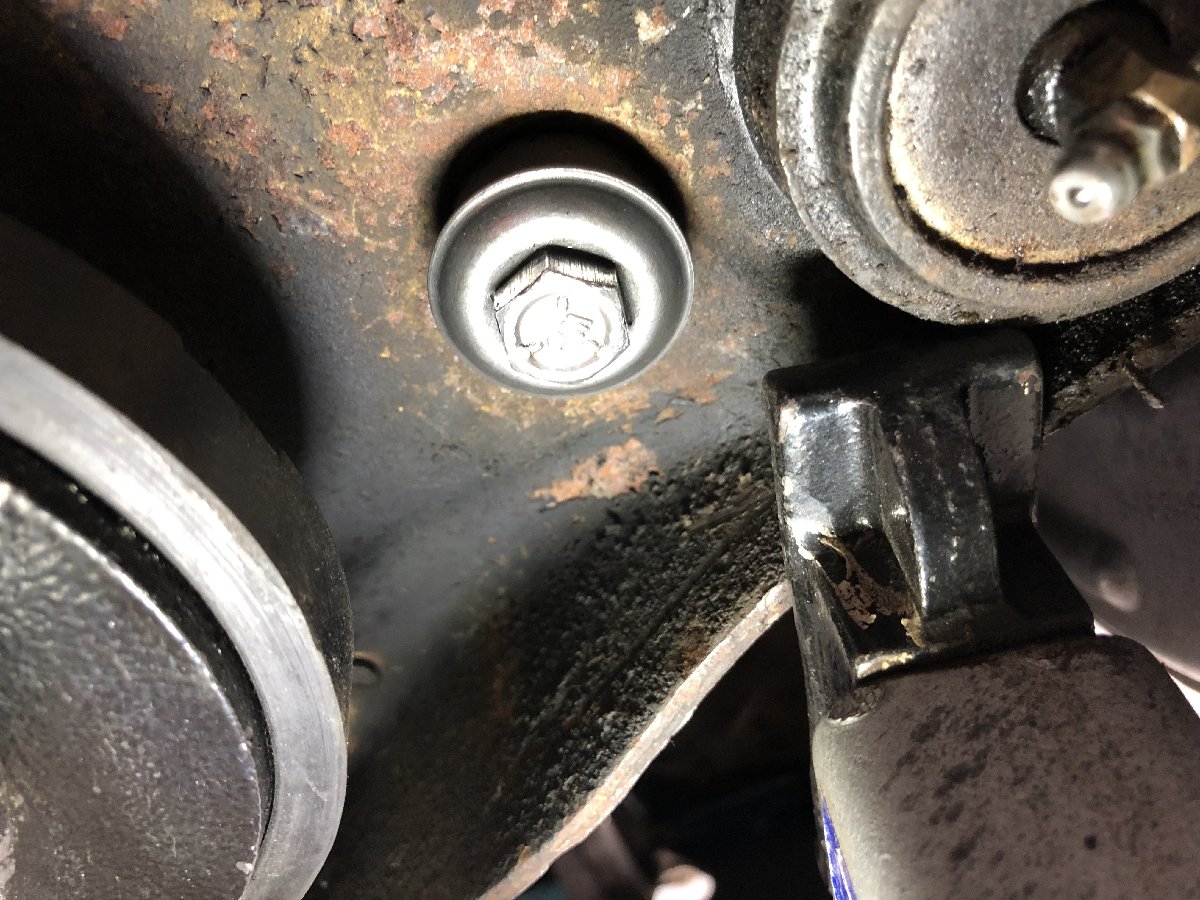
__________________
I like solid lifter cars, big cams and cars w/ 3 pedals in them.
Last edited by NorCam; 05-01-2020 at 04:38 PM.
|
|
#355
05-01-2020, 03:30 PM
|
||||
|
||||
|
Graeme, great work on cleaning up the front end components. I noticed that you replaced the end link hardware with NOS parts and this may not matter, however the end link bolt with the WB (Wales-Beech) head marking used on 69's was a Grade 3 bolt with fine threads. For some larger GM vehicle applications the bolt used was instead a Grade 5, with 3 radial head markings as shown on your replacements, which is also course threaded. The correct bolt has no radial markings.
Original End Link WB Bolt from Skip L's 22K mile 69Z Survivor  My original WB bolt (restored) 
Last edited by Edgemontvillage; 05-01-2020 at 04:24 PM.
|
| The Following User Says Thank You to Edgemontvillage For This Useful Post: | ||
NorCam (05-01-2020) | ||
|
#357
05-01-2020, 04:22 PM
|
||||
|
||||
|
Quote:
|
|
#358
05-01-2020, 04:35 PM
|
||||
|
||||
|
Quote:
The car is miles ahead of where it was and it will definitely be fun to get out with this summer. Who knows, maybe I will actually keep this one for a while. The color has definitely won me over, and I cannot wait to drive it. Quote:
Again...thanks for chiming in. 
__________________
I like solid lifter cars, big cams and cars w/ 3 pedals in them.
Last edited by NorCam; 05-01-2020 at 04:51 PM.
|
| The Following User Says Thank You to NorCam For This Useful Post: | ||
PeteLeathersac (05-01-2020) | ||
|
#359
05-01-2020, 05:00 PM
|
||||
|
||||
|
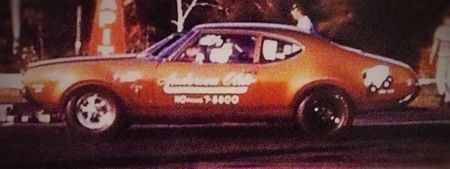
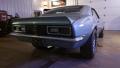
And thanks for the earlier tip on the fuel pump plate color Lloyd. Painted the piece black yesterday and plan to mount it back onto the motor today. If all goes well with time management over the weekend, I will hopefully have the engine back in the car. Business is rolling for us here with large projects and that has been keeping me away from getting this car done as quickly as I had hoped, but here's what's keeping me motivated to some degree. (lol)
 
__________________
I like solid lifter cars, big cams and cars w/ 3 pedals in them.
|
| The Following 2 Users Say Thank You to NorCam For This Useful Post: | ||
big gear head (05-01-2020), PeteLeathersac (05-01-2020) | ||
|
#360
05-01-2020, 05:38 PM
|
|||
|
|||
|
Every time I open this thread I look forward to the updates and also anticipating the car is for sale!?
Either way well done and I respect the work and detail. I am cleaning and updating a vehicle in a similar fashion and with the weather improving I am anxious to take it for a spin!!
|
|
|
|


 Linear Mode

