
Dedicated to the Promotion and Preservation of American Muscle Cars, Dealer built Supercars and COPO cars. |
|
|||||||
| Register | Album Gallery | Thread Gallery | FAQ | Community | Calendar | Become a Paid Member | Today's Posts | Search |


|
|
|
Thread Tools | Display Modes |
|
|
|
#1
 03-04-2010, 08:05 AM
|
|||
|
|||
|
Just finished reading this epic thread. Holy crap! Man you do some nice work
 Good luck with the rest of the build 
__________________
"The hardest thing about flying is the ground" Sir Charles Kingsford Smith. 
|
|
#2
03-04-2010, 03:42 PM
|
||||
|
||||
|
[ QUOTE ]
Just finished reading this epic thread. Holy crap! Man you do some nice work Good luck with the rest of the build [/ QUOTE ] Hope you had a lot of food and drink nearby - it's a long one. On par with Homer's Odyssey.  (The other Homer, that is)  
|
|
#3
03-05-2010, 12:03 AM
|
|||
|
|||
|
Steve, you have to hurry up with this build before your kids go to College
 hope to see it this year (along with my car) at the next flemington show! hope to see it this year (along with my car) at the next flemington show!
__________________
69 SS 350 convertible (in peices) 69 327 convertible (driver)
|
|
#4
03-08-2010, 02:08 AM
|
||||
|
||||
|
Did some more work on the flares. Knowing how bad the rear flares get pummelled by rocks thrown off the front tires, I decided to use the 3M clear protective film on the rear flares. I taped some wax paper over the flare and traced out the line of the front facing section. I then cut out the area from the wax paper and test fit that on the flare. Fit perfectly after a little trimming. With that, I transferred the wax paper onto the 3M material and cut out the section I needed. I used some of the leftover decal application gel from my stripes and it went on fine. The first attempt resulted in a few too many air bubbles but it seems to lift up rather easily and I was able to get it applied with no air bubbles at all.
Once applied it is virtually undetectable on the flares. I had to really try to get the edge of the applique to show in the photos.  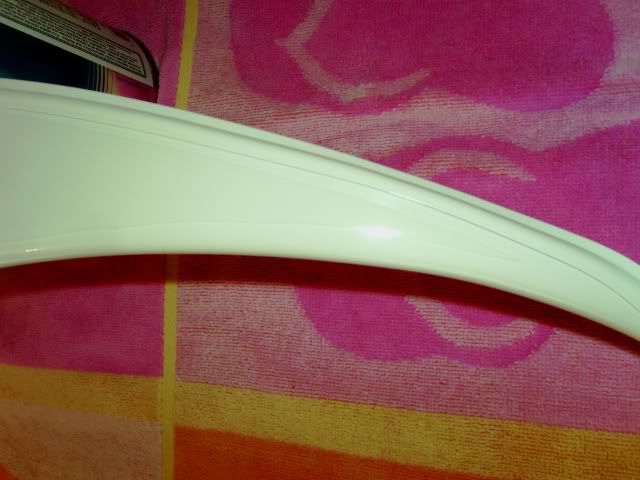 And here is a photo of the pattern in case anyone needs to use it. By the way, you just flip it over to make the other side pattern. 
|
|
#5
03-08-2010, 02:22 AM
|
||||
|
||||
|
I spent the day installing the flares. The rears are a bit easier than the fronts. Due to the thickness of the repro welting and the fact that it is of a harder material than the originals (more of a plastic or vinyl than a soft rubber) it tends not to compress when the flare is installed. I did quite a bit of trimming of the underside to get the welting as flat as possible. I then added a "donut" of black body caulking around each screw hole so the screw wouldn't bend and crack the mounting points. The real tricky parts are where the welting has to twist into a 90 degree angle to go under the top of the flare and into the wheel well. Lots of trimming and massaging with a heat gun there.
 The front flares are more difficult as one of the mounting bolts is virtaully unreachable without removing the inner fenders and lower closure panel. I had to unbolt several of the inner fender-to-fender bolts and then remove the side marker lamp in order to even see the mounting location. You can then slip the bolt and 1/2 inch socket in to blindly find the mounting hole. The second mounting hole is a bit easier as you can reach it from the front of the car, but you need to use a ratcheting box end to turn it. More massaging was in order and several on-and-offs were required before I was satisfied with the flare-to-fender fit.   
|
|
#6
03-09-2010, 02:11 AM
|
||||
|
||||
|
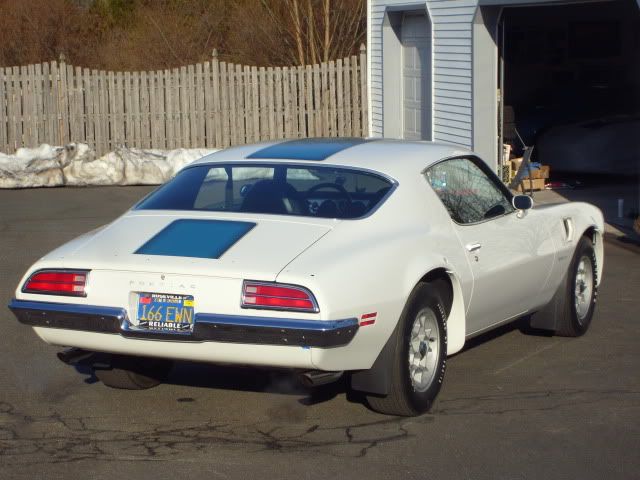
Installed the tail panel, tail lights, license plate assembly and rear bumper. I ended up using silicone RTV on the back side of the panel to hold the "PONTIAC" letters in place since the barrel clips only lead to cracking of the rear panel around the insert holes.
|
|
#7
03-09-2010, 04:59 AM
|
|||
|
|||
|
Looks great, can't wait to see it completely finished.
__________________
1968 Camaro Ex-ISCA Show Car John 10:30
|
|
|
|


 Hybrid Mode
